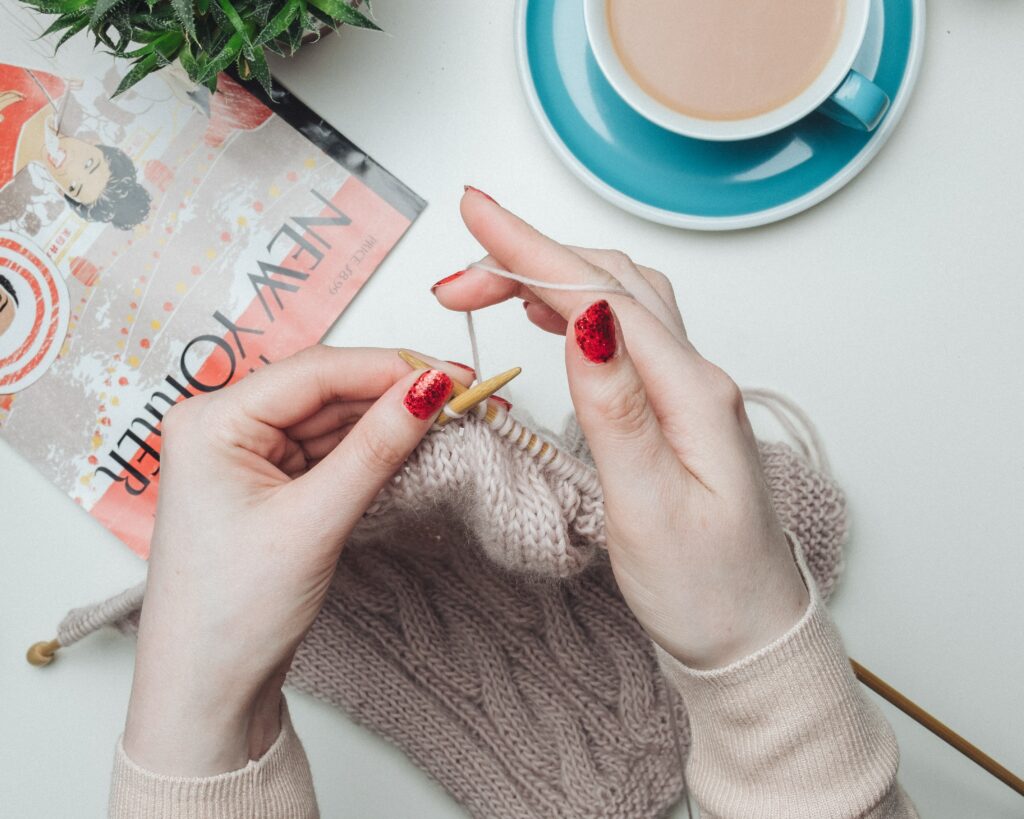
Four Easy Beginner Knitting Stitches
Fun and easy two-row repeat beginner knitting stitches that create beautiful patterns
When it comes to choosing a stitch pattern for your latest project, the sky is the limit! And by that, I mean darn near impossible to narrow down your options. Which will look best for my project? Are there some better ones for certain yarn sizes? Is it reversible? And of course, the real question on every knitter’s mind: Will it be easy enough to do while binge-watching my favorite show without boring me to tears?
Knitting stitches range from I-can-do-this-in-my-sleep to please-kill-me-now, typically categorized by row repeats. Beginner knitting stitches are best when there are fewer row repeats. In this guide, I will be mainly focusing on 2-row repeats that are easy to master and result in beautiful, unique patterns.

1. Garter Stitch
When I teach new knitters, this is the first stitch I go to. The garter stitch is the building block of knitting and offers great practice for anyone brand new at knitting. The garter stitch can be used in many projects but my favorite use is in scarves and home goods (pot holders, pillowcases, etc.). Due to the highly repetitive nature of the garter stitch, I would recommend using a smaller yarn size, as the garter stitch can look a bit clunky in a thicker yarn. To add some variation to the garter stitch, you can also add multiple yarn colors from different skeins (of the same yarn size) or purchase pre-dyed yarn that is multicolored.
The garter stitch pattern is different when knitted in the round vs. flat. See the pattern below for details It is also reversible, meaning it will look the same on both the right and wrong sides of the work.
2. 1×1 Rib Stitch
The 1×1 rib stitch is my absolute favorite for beginner knitting stitches. It provides a fun new challenge of incorporating a purl stitch without being too cumbersome and results in a beautiful braid-like work. Being a simple knit-then-purl pattern, it is easy to memorize and also easy to learn alternative rib stitches. For example, the 2×2 rib stitch. Like the garter, the rib can be used for most projects but my favorite uses for this stitch pattern are drapey infinity scarves and beanies. Because the pattern is visually vertical rather than horizontal, it looks lovely on yarn of all sizes. Being a rib stitch, this pattern also makes a great border on any project and unlike the stockinette stitch, it does not roll up. The 1×1 rib stitch pattern is the same when knitting in both the round and on straight needles. It is also reversible.
3. Seed Stitch
The seed stitch is a great way to easily up your early knitting game. It adds a layer of texture and complexity to a project that makes it look more fun and whimsical than the rib and garter stitch can. The seed stitch also adds a bit of bulk to a project, making it feel thicker and “chunkier” than other stitches. My favorite use of this stitch is winter hats. With its poke-a-dot appearance, this pattern makes an adorable cap for both kids and adults. Because of its more complex appearance, this is a great stitch option for solid color yarns and the bulking factor makes it great for lighter-weight yarns as well. Last winter I made a hat for my friend in seed stitch using US size 8 needles which resulted in a garment that was light to wear while still being plenty warm for a Minnesota winter.
The seed stitch will be the same pattern in the round and on straight needles BUT you must cast on an even number of stitches in the round and an odd number of stitches when knitting flat. This pattern is reversible.
4. Stockinette Stitch
The stockinette stitch is very similar to the 1×1 rib except there is no break between the braid pattern resulting in a very smooth look and feel. The stockinette stitch is great for household projects like pillows and decorative pieces. Last autumn I made several lovely pumpkin-shaped pillows using stockinette stitch. The biggest downside to the stockinette is that it is infamous for curling up on you. There are some workarounds, the most popular being to either block your work or add a border of a different stitch around the work.
I find that adding a border is the easiest for new knitters but depending on the project you may need to add a fairly substantial border which changes the look and feel of the work dramatically. If you are anything like me, you may try out the border strategy and find you just don’t like the appearance. When making round-shaped projects (like pumpkins and hats), rolling can work in your favor. Stockinette hats can look lovely with a rib stitch border as well. Hats also work great because they hide the fact that this is not a reversible pattern (it looks different on each side).
Stockinette pattern is different in the round than knitted flat. See the pattern below for details This is not a reversible stitch, meaning it looks different on the wrong side. The wrong side looks a lot like the garter stitch.
This list is hardly exhaustive but it should give you a great place to start with your knitting. Learning to knit, especially self-teaching, can be quite overwhelming. I would highly recommend focusing on projects that use these four types of stitches. For a more comprehensive list and more advanced stitch patterns to try, you can visit Studio Knit’s blog. They have an excellent website with tons of videos and tutorials to help you get started. It’s a great resource to refer back to for beginner and advanced knitters alike.